I’ve got a build thread going on TRF, so I figured it’d be easiest to copy and paste:
After getting my L1 back in June, I’ve been excited to start on my L2 build. I’ve decided to go with the Madcow Level-2.
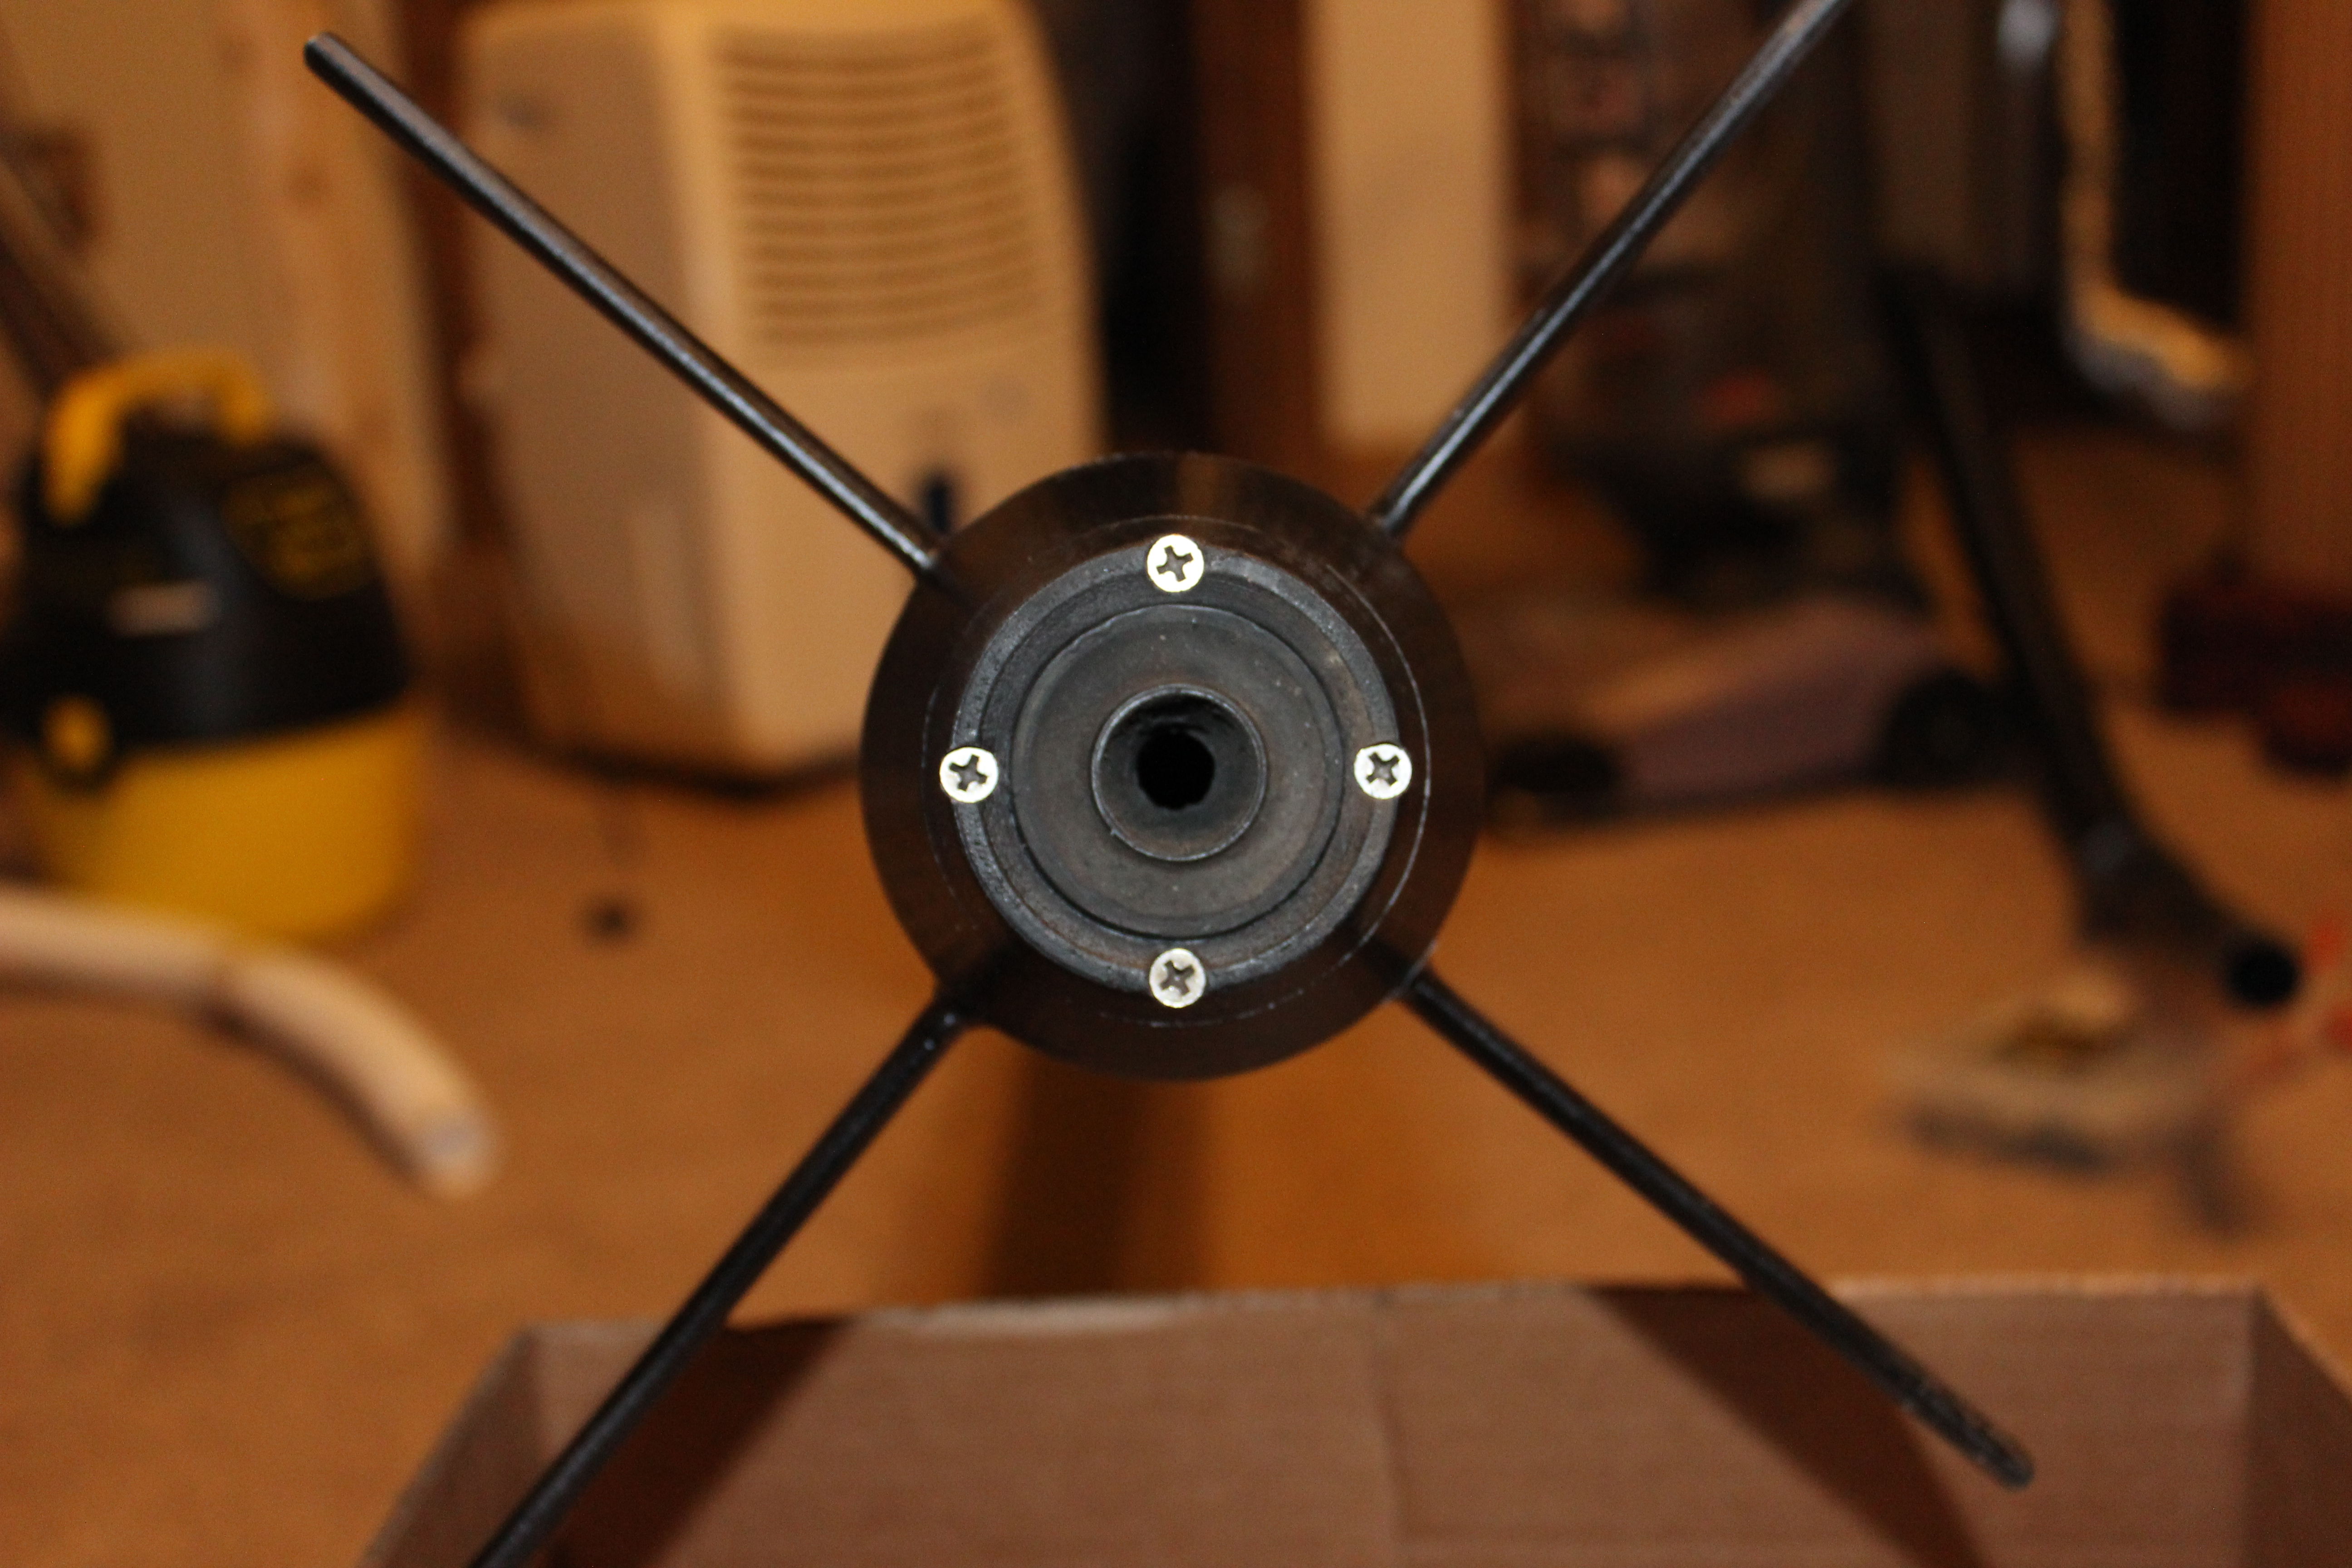
The motor mount is going to be a little… different. I abhor aligning fins and don’t love making internal fillets. To get around this I’ve 3D printed an insert that the fins epoxy into. While it does add weight, it should make the entire assembly very rigid. It’s been printed with CF PLA @ 10% infill. The fins will be epoxied into the slots which I think will provide a very rigid bond when everything is sandwiched together.
I did have an issue with delamination on the lower end. The rest of the print seems to have worked out well, so I cut the problem area off, sanded square and laser cut a cap for it. As it was a 12hr print, I’d like to avoid going through that again. The issue was localized to that area as the rest of the print is rigid. I’ll keep an on eye on later prints and likely bump up my hotend temp (already at 230*C, so I’m not sure that was the cause), but in the end it’s more of an irritant than a real issue.
I’ve laser cut some spacers to allow the entire assembly to butt up to the Aero Pack retainer as well as some doublers for the stock centering rings. I’d like to fly this on larger motors later on, so the idea is to spread out the force instead of localizing it to the stock two centering rings. I’m not a mechanical engineer, but I’ve done something similar with a 3D printed mount on my IRIS and that’s stood up to an H550 very well with no signs of fatigue.
I wanted to provide a point to install my rail buttons to further up as well as provide a little support for the motor tube, so I’ve come up with this. It’s very rigid and should work well. I forgot to grab a picture after assembling it, but you can see it it glued up on the motor mount assembly photo.
This is where I’m at now. Waiting on some epoxy to cure before giving a good sanding and installing into the body tube. I’ll get a final weight of the assembly before install. I think it should provide a very solid mount, make the fins a breeze to install and hold up to some pretty large motors. We’ll see how that goes.
While the motor mount assembly was curing, I got around to cleaning up the slots in the body tube. They were too small and a little jagged. Took a rotary tool with a grinding stone and widened them a bit. They don’t need to be perfect as they’ll be filled in when I make my fillets on the fins, but at least the fins fit through them now.
Next I drilled the holes for the launch buttons. I just found the center between two fin slots, drew three dots along that line and used that to square a metal ruler to. Drilled the holes to match up with my mount.
Finally, I glued in the motor mount assembly. I first laid down a ring of epoxy where the shock cord mount ring was going to fall. I bought a telescoping magnet tool at Walmart and cut the end off. Replaced it with a 3D printed part that fits these makeup applicators I found on Amazon. They work really well when you need to apply small amounts of epoxy and with the telescoping handle it makes it super easy to lay fillets on rings down in tubes or to apply adhesive in hard to reach places without making a mess. Coated the bottom half of the mount in epoxy and slid it into the tube. After it was aligned I cleaned up the epoxy behind the mount. Finished by adding an epoxy fillet on the top of the shock cord mount.
Quick test fit of the fins… I’m really happy with this. Working on shaping them next.


Need to actually post…
I built this blog with the intention of, well, blogging. I’ve been building and flying, but haven’t been documenting much. I’m also in the depths of a job search, so jumping around to interviews hasn’t helped my free time.
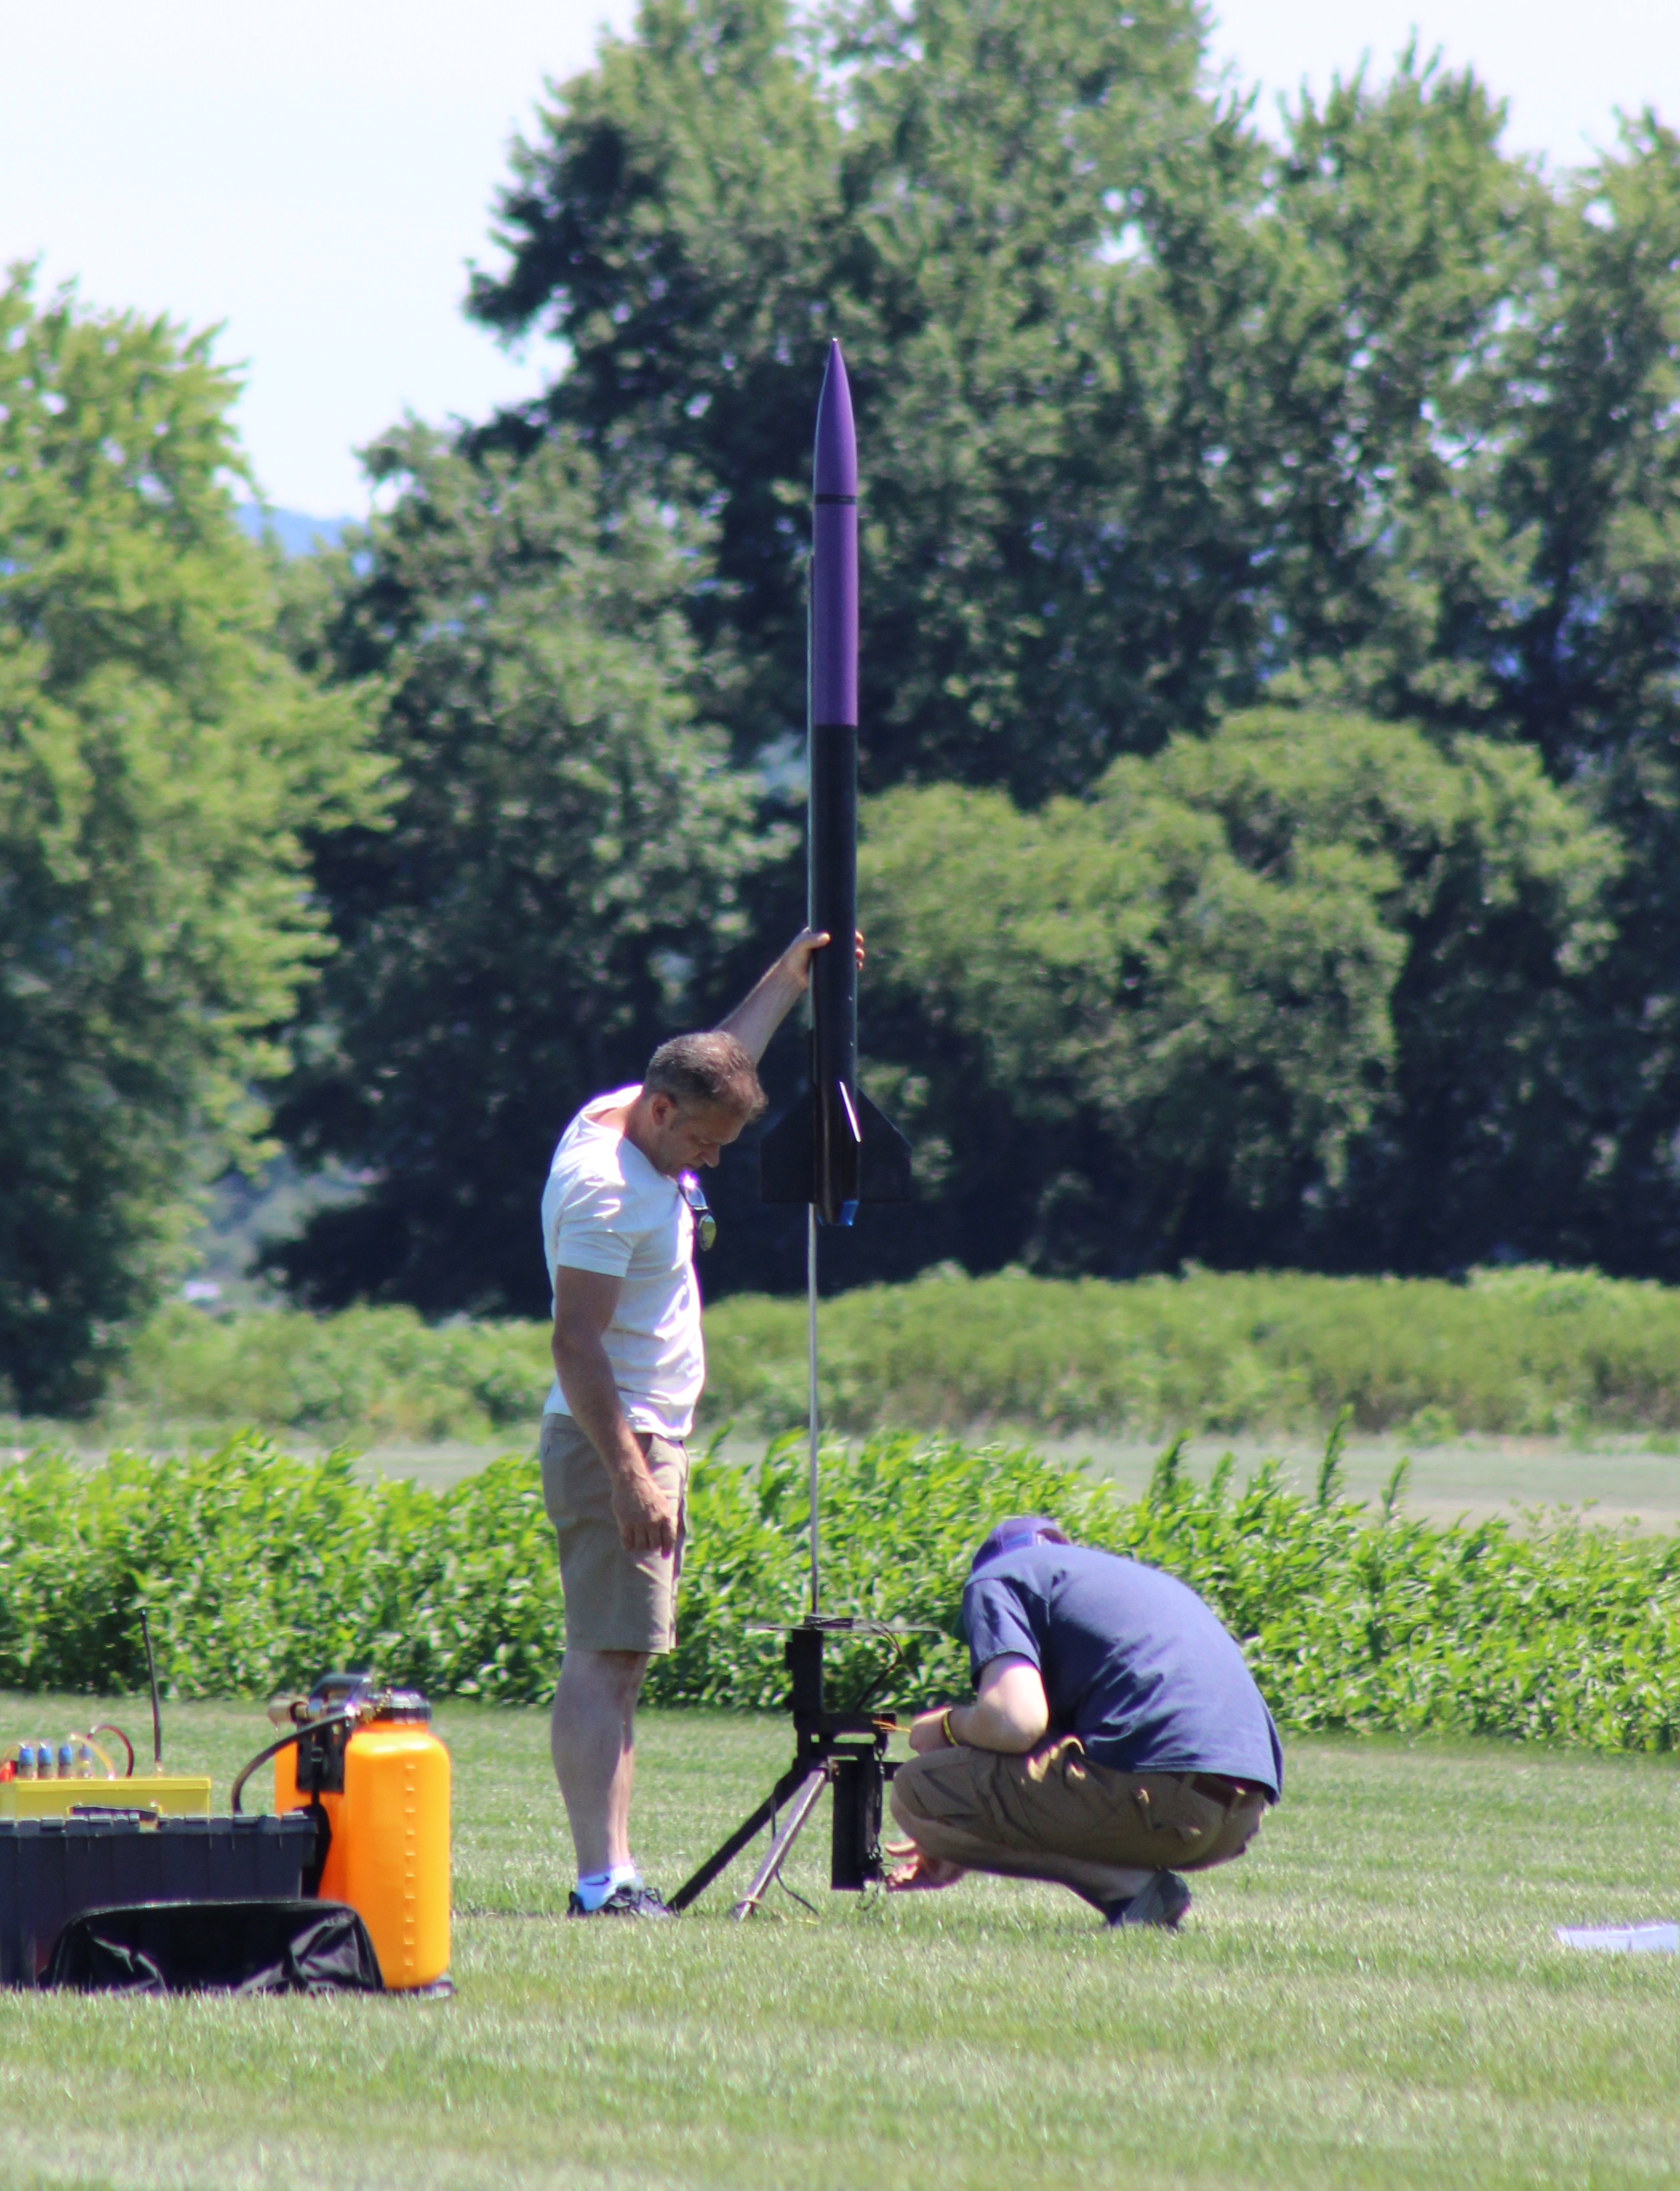
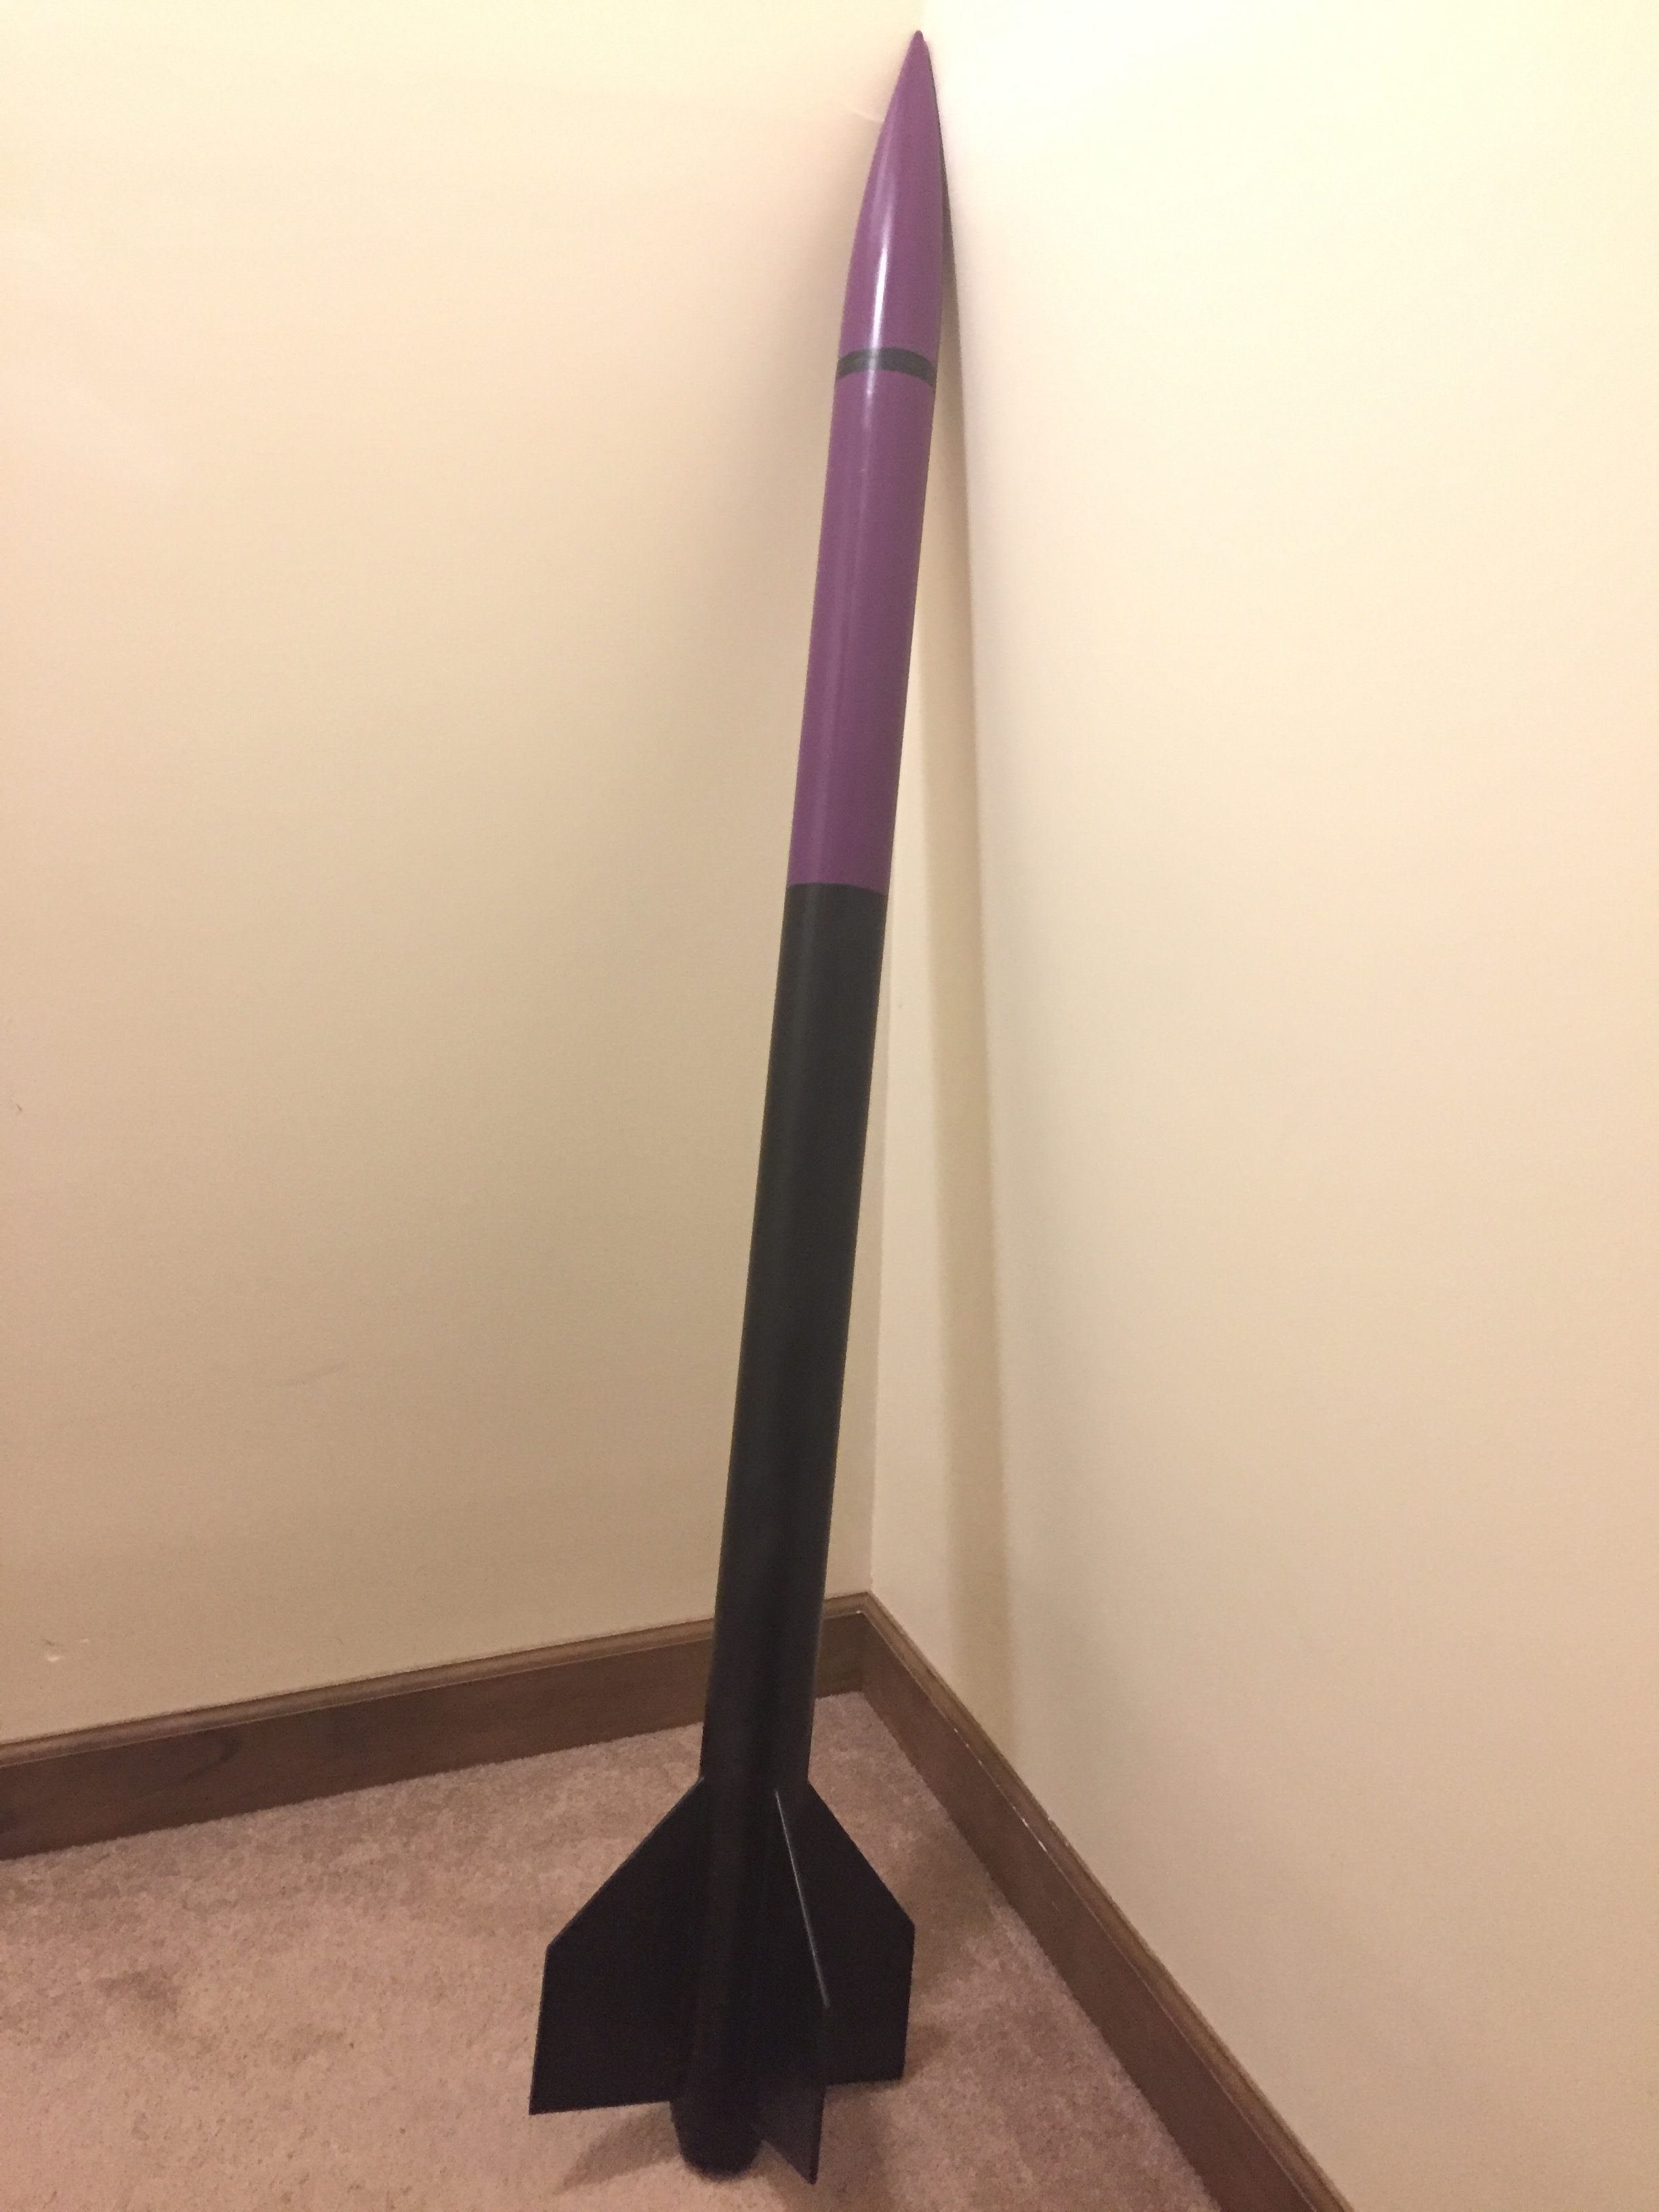
Anyway, here are a few photos of the 3.1″ LOC IRIS and 2.6″ Wildman Patriot from last weekend. I’m about to dive into the L2 build, so I’ll be sure to actually take a few photos.
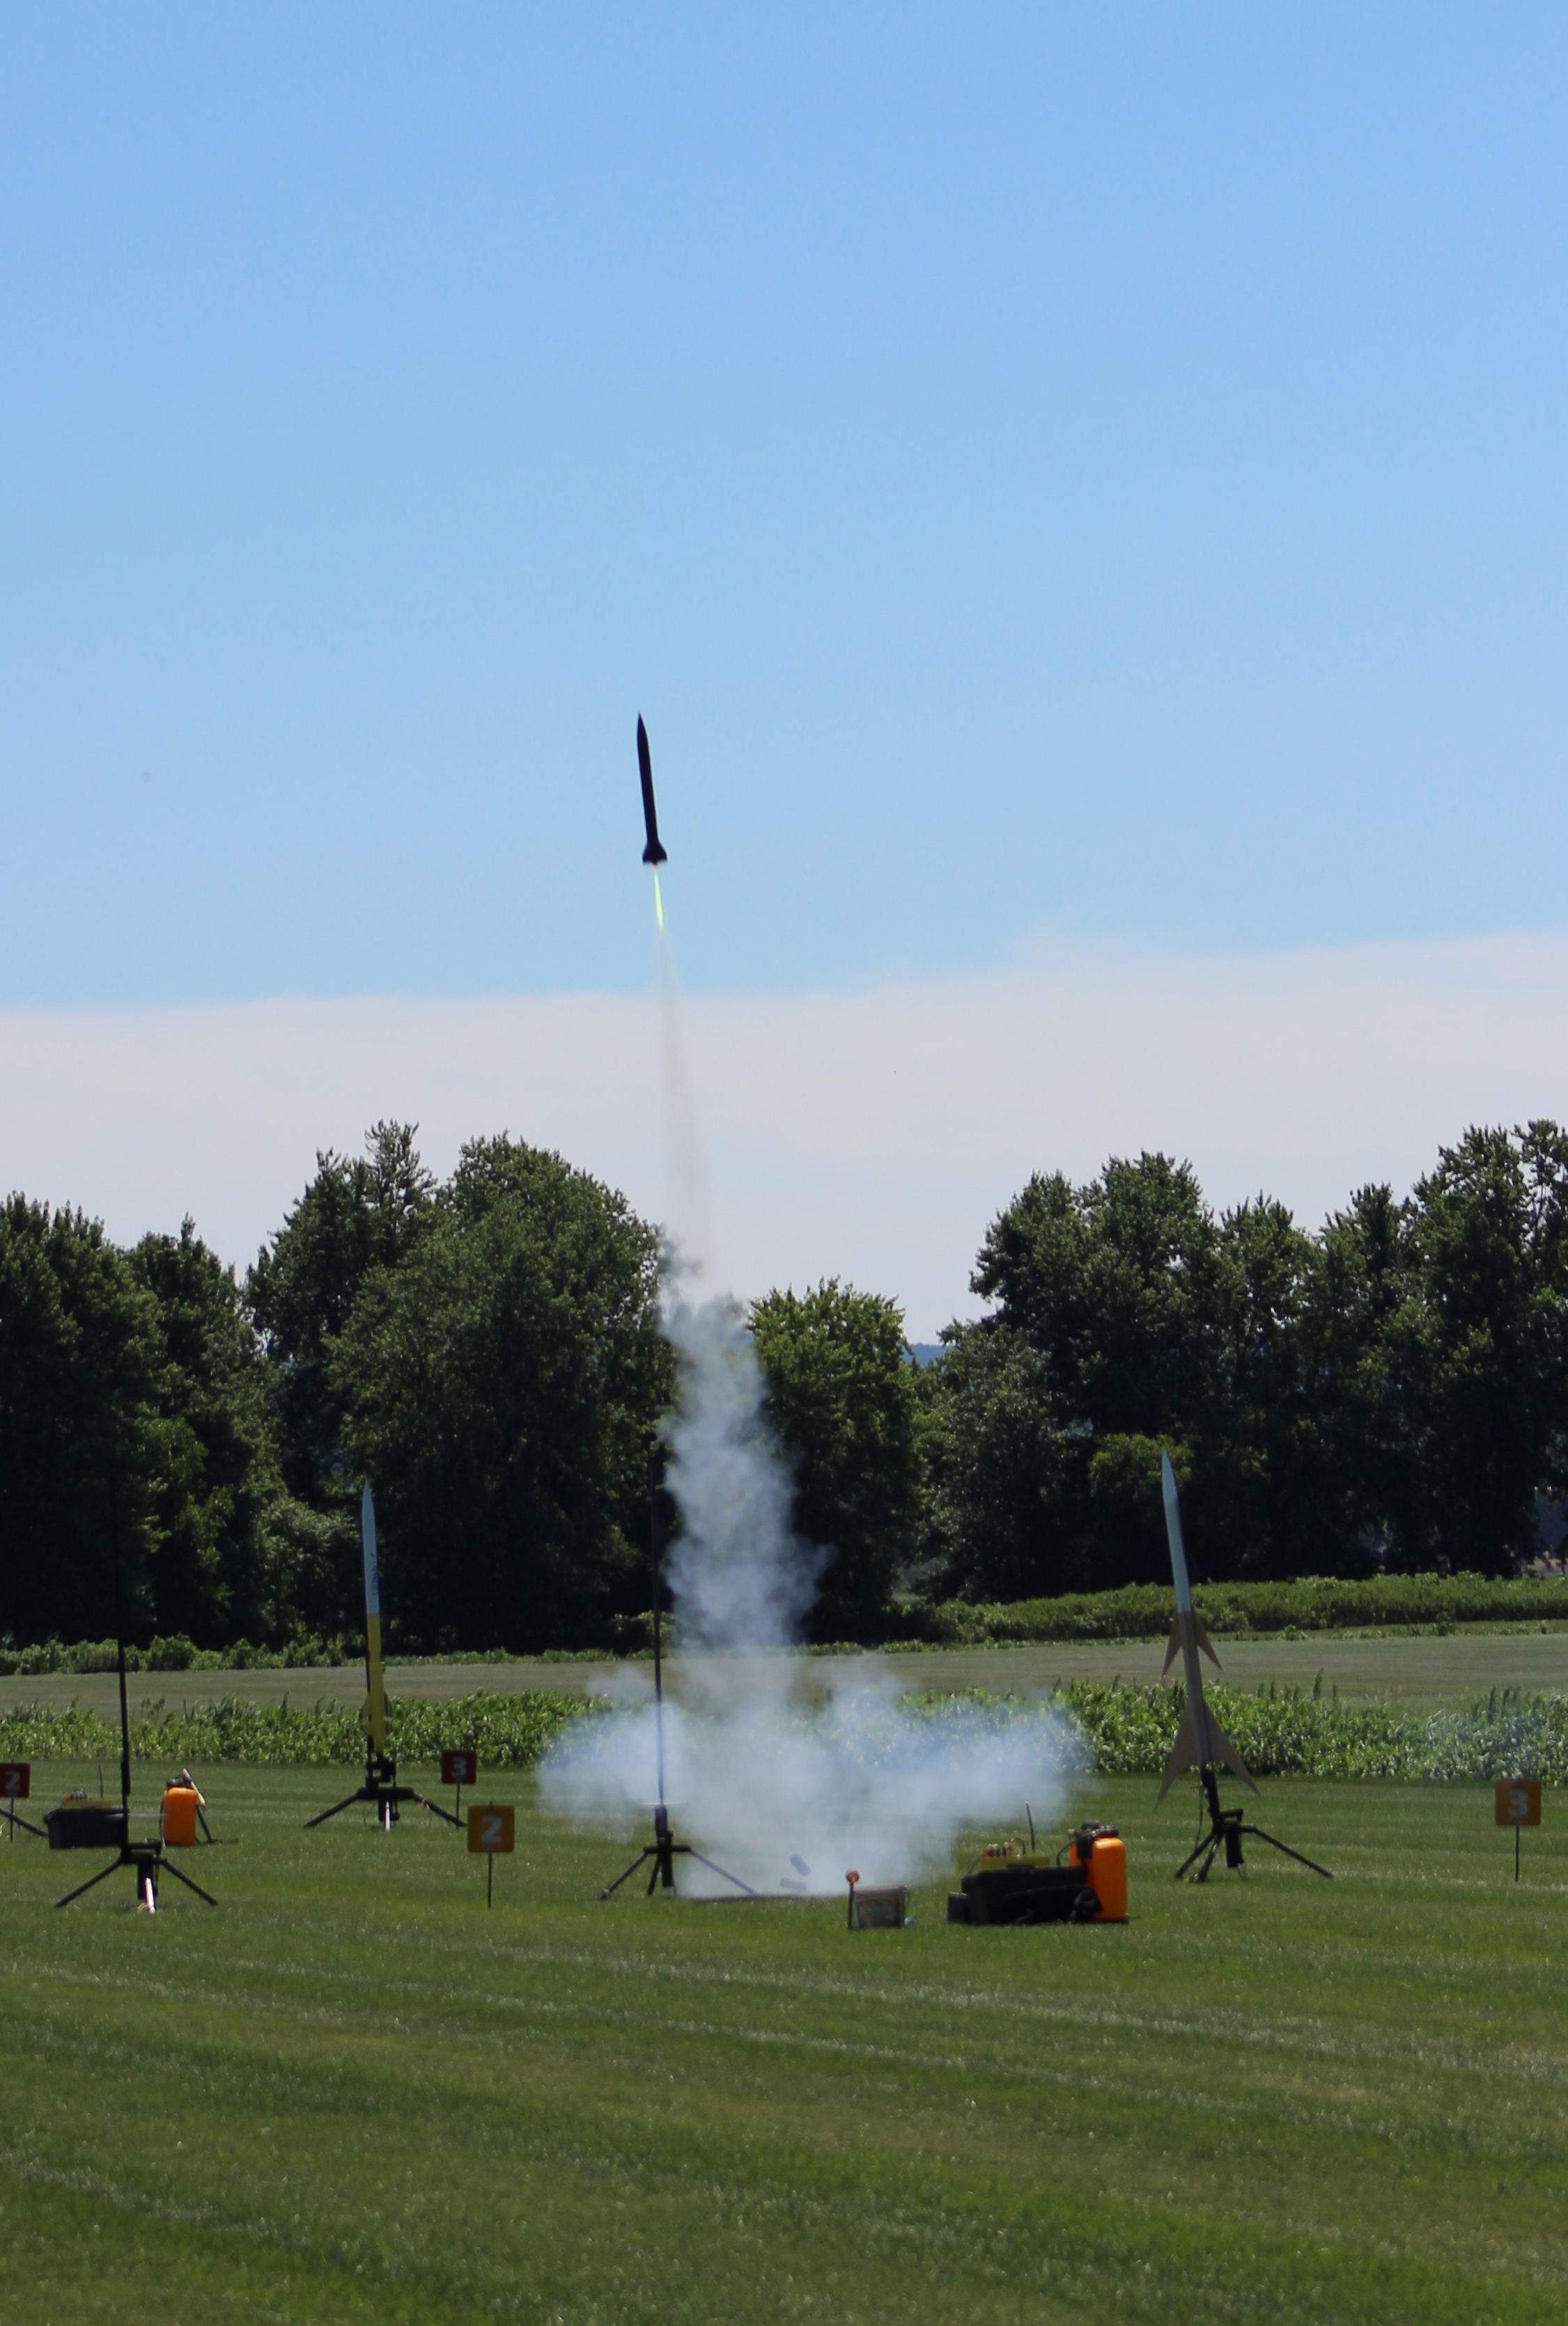
L1 Certification
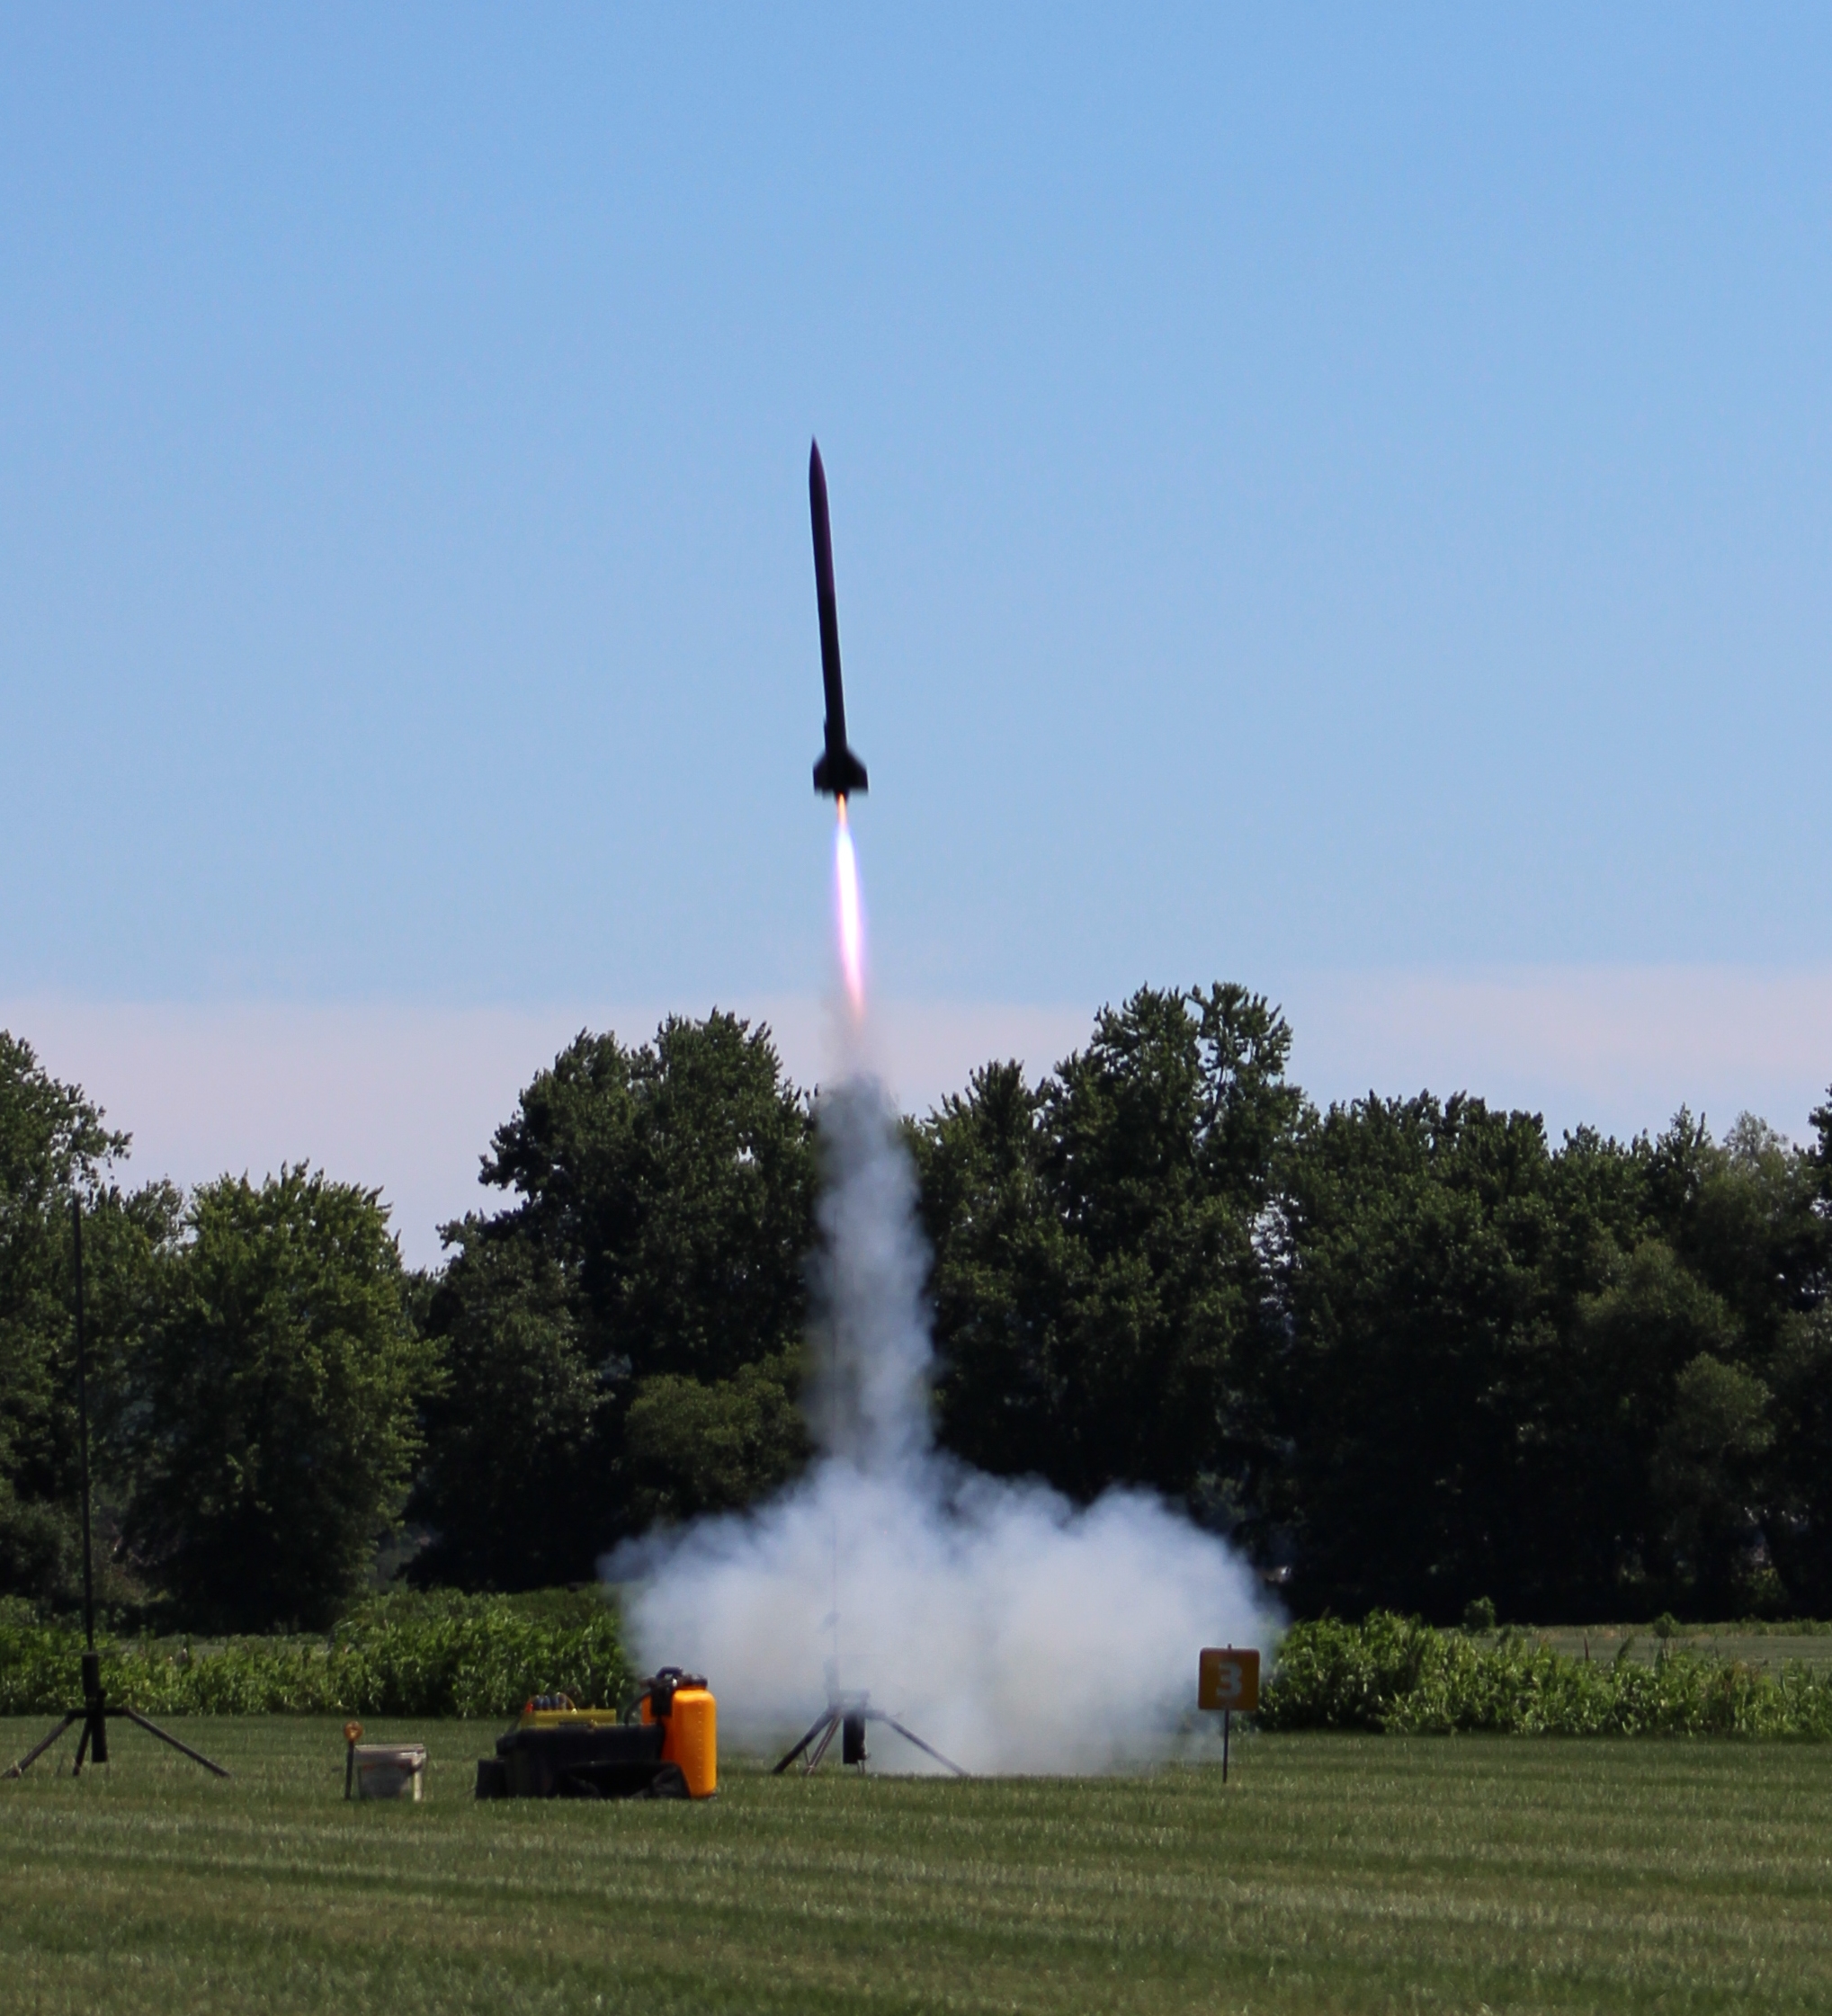
I figure this is a good place to start for a first post. This past Sunday I flew my recently completed LOC IRIS for my L1 cert flight. I was concerned with the speed the rocket was going to leave the rail, so to avoid any issues there I went with an H550ST DMS from Aerotech adjusted for an 11 second delay. Probably a bit overkill for a cert flight, but the motor mount and retainer held.
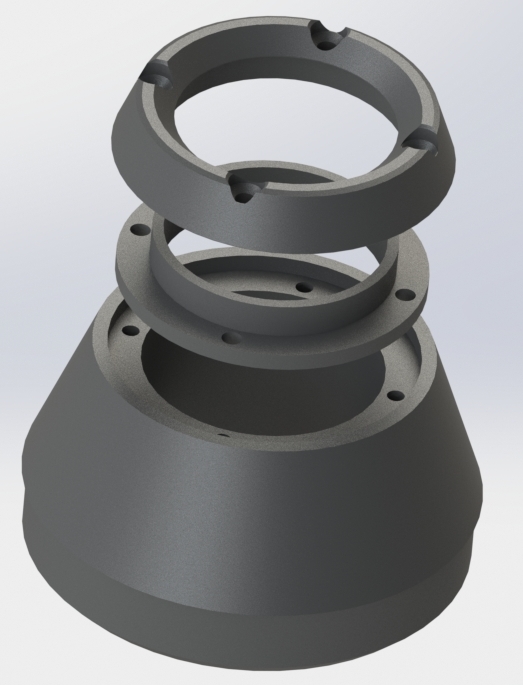 The retainer was 3D printed with CF PLA. It gives the option of using a 3D printed ring that screws into the mount or clamping your standard thrust ring down like most retention systems. I had some concerns with the strength as well as heating from the motor, but there were no signs of stress or damage on the retainer ring, so it seems to have worked really well. I’ll be sure to keep an eye on it as I fly it more, but printing a new retaining ring is simple, cheap and quick so if I notice any fatigue I’ll be sure to swap it out.
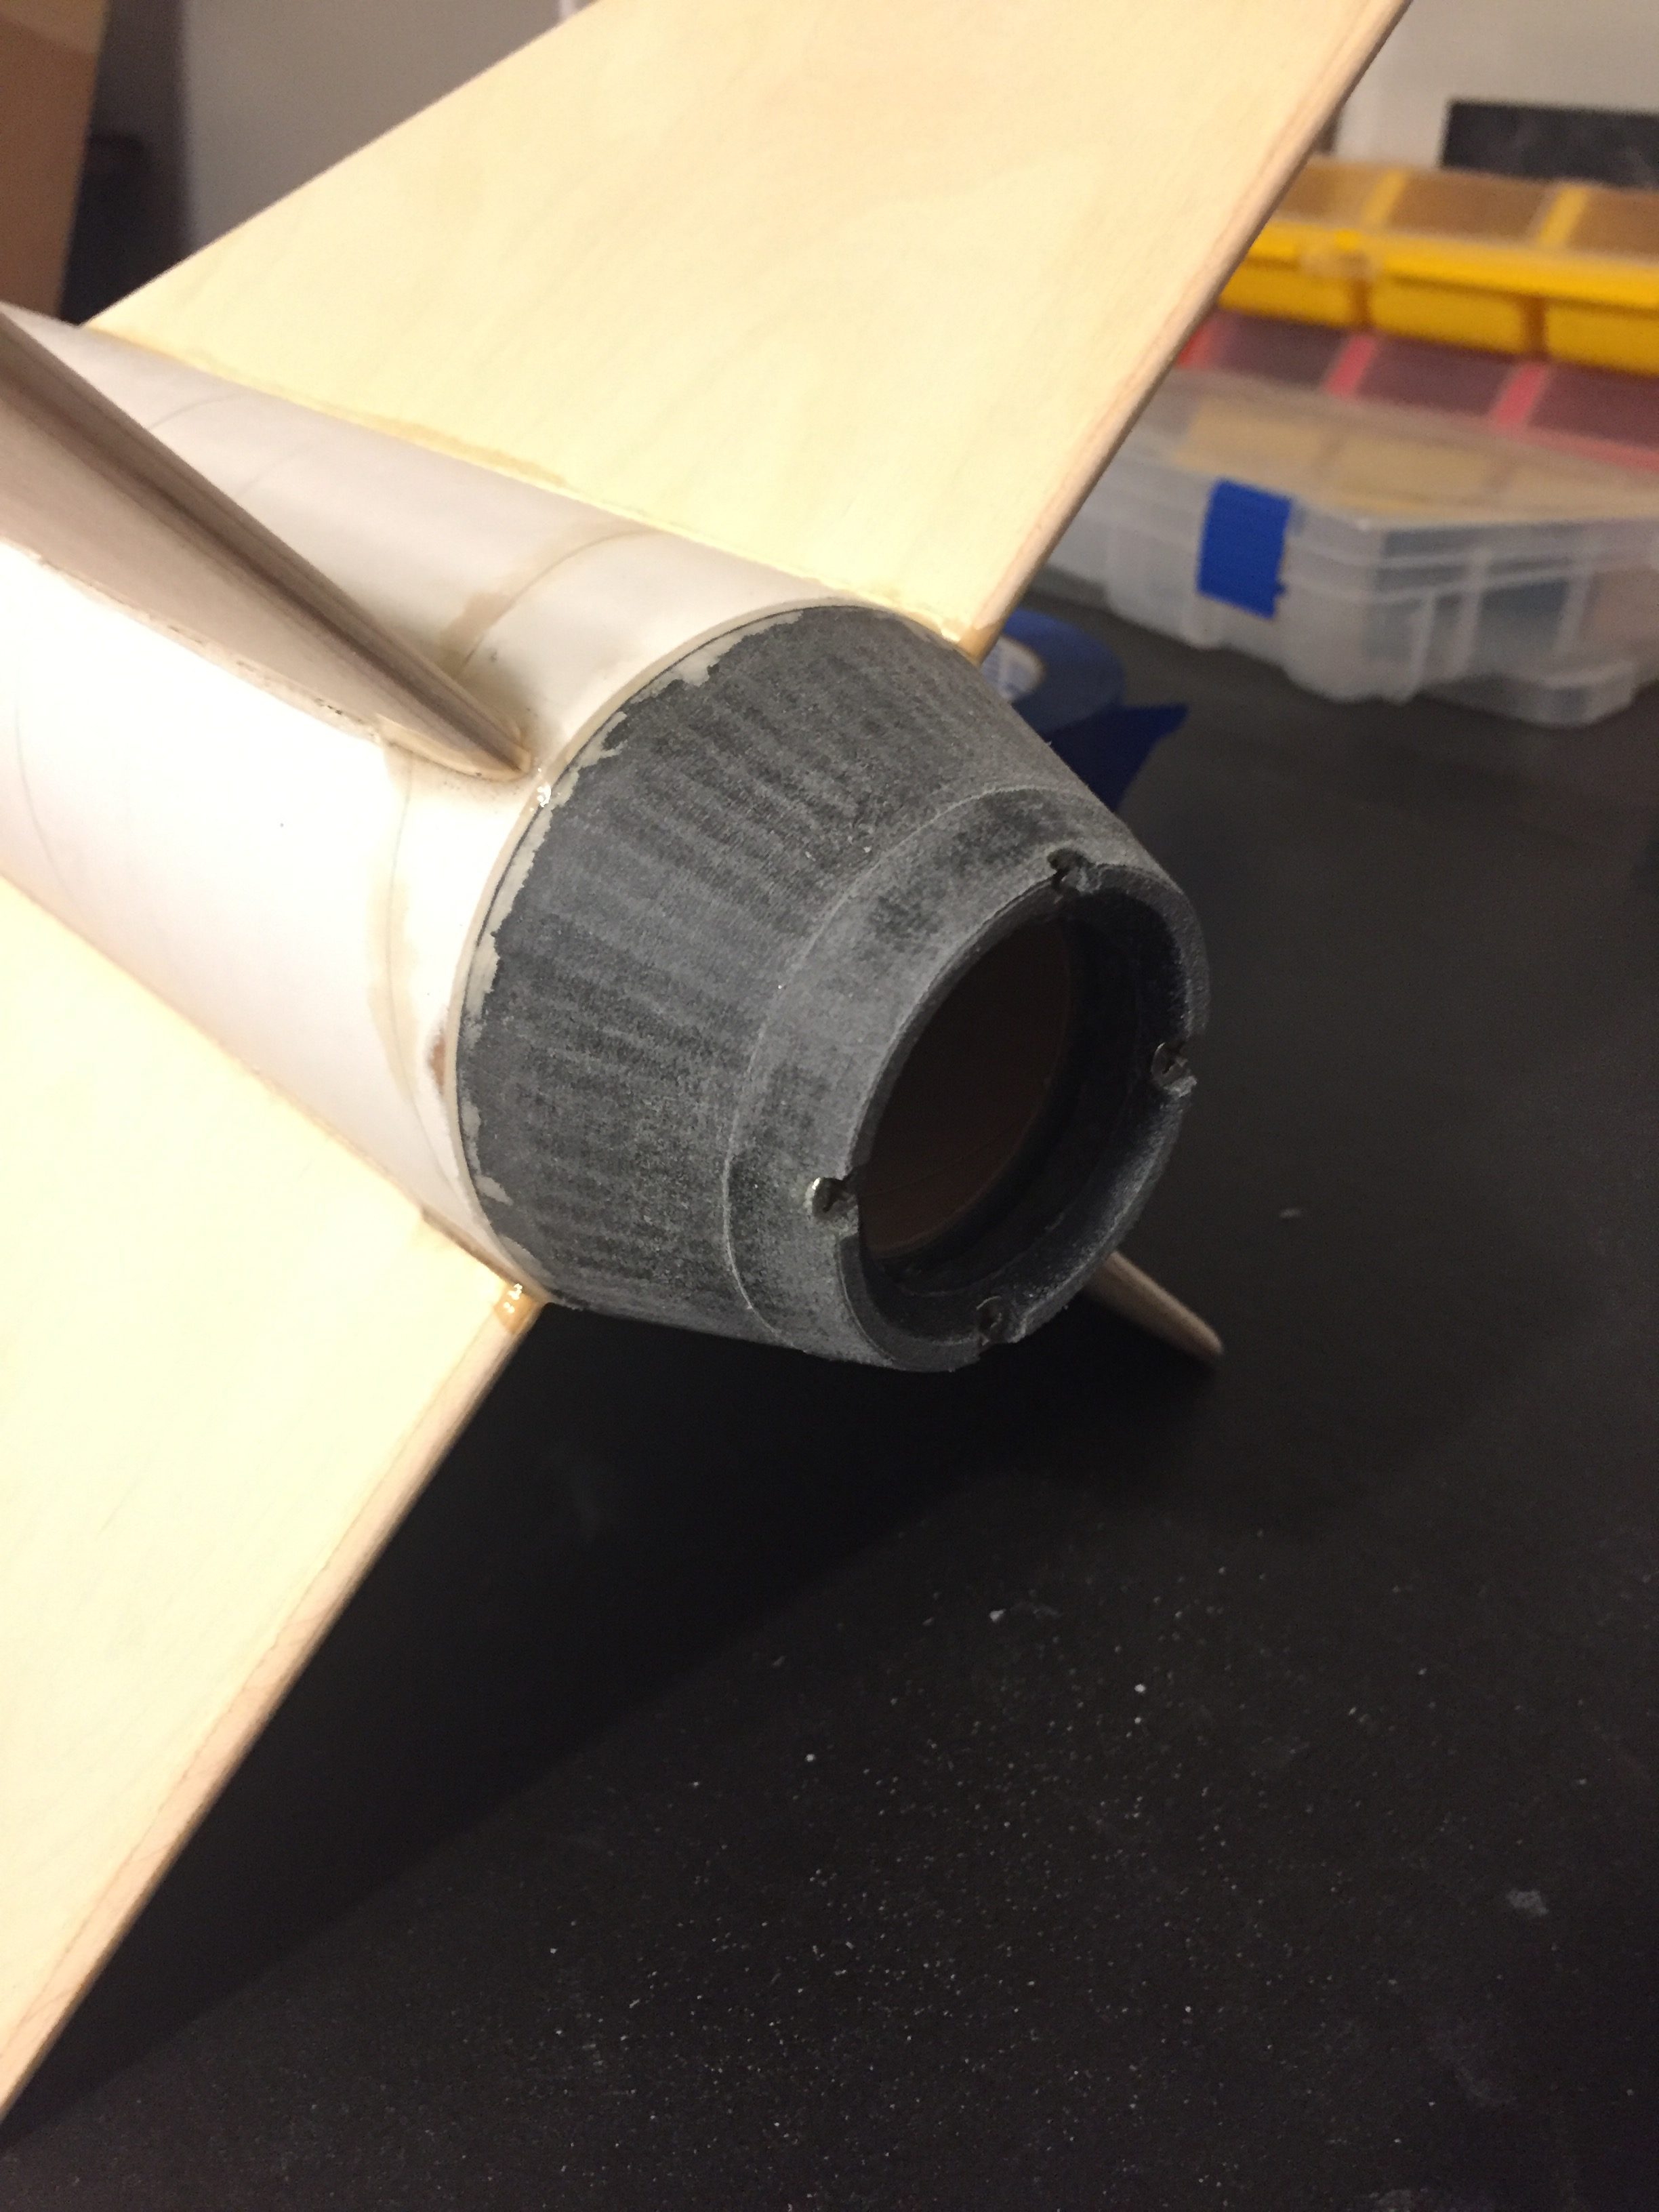
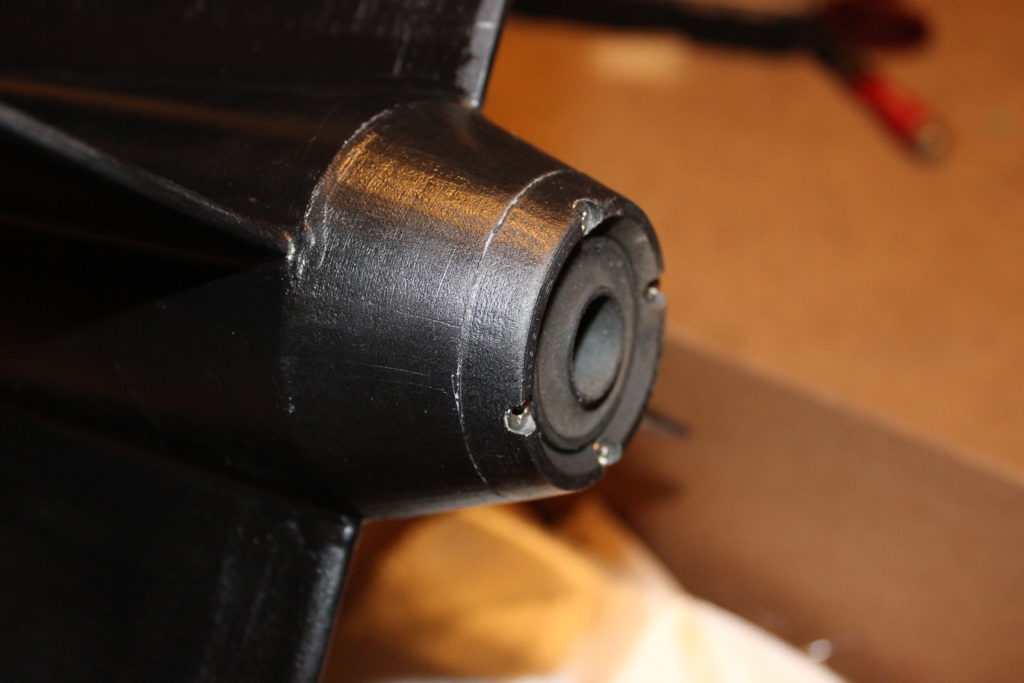
The main benefit I see with this mount over your standard Aeropack/commercial retainer is the aerodynamic profile. It provides a smooth transition between the rocket body and nozzle. Does it actually do much as far as lowering drag? I’m not sure, but some testing may be fun. At the very least I think it looks pretty good.
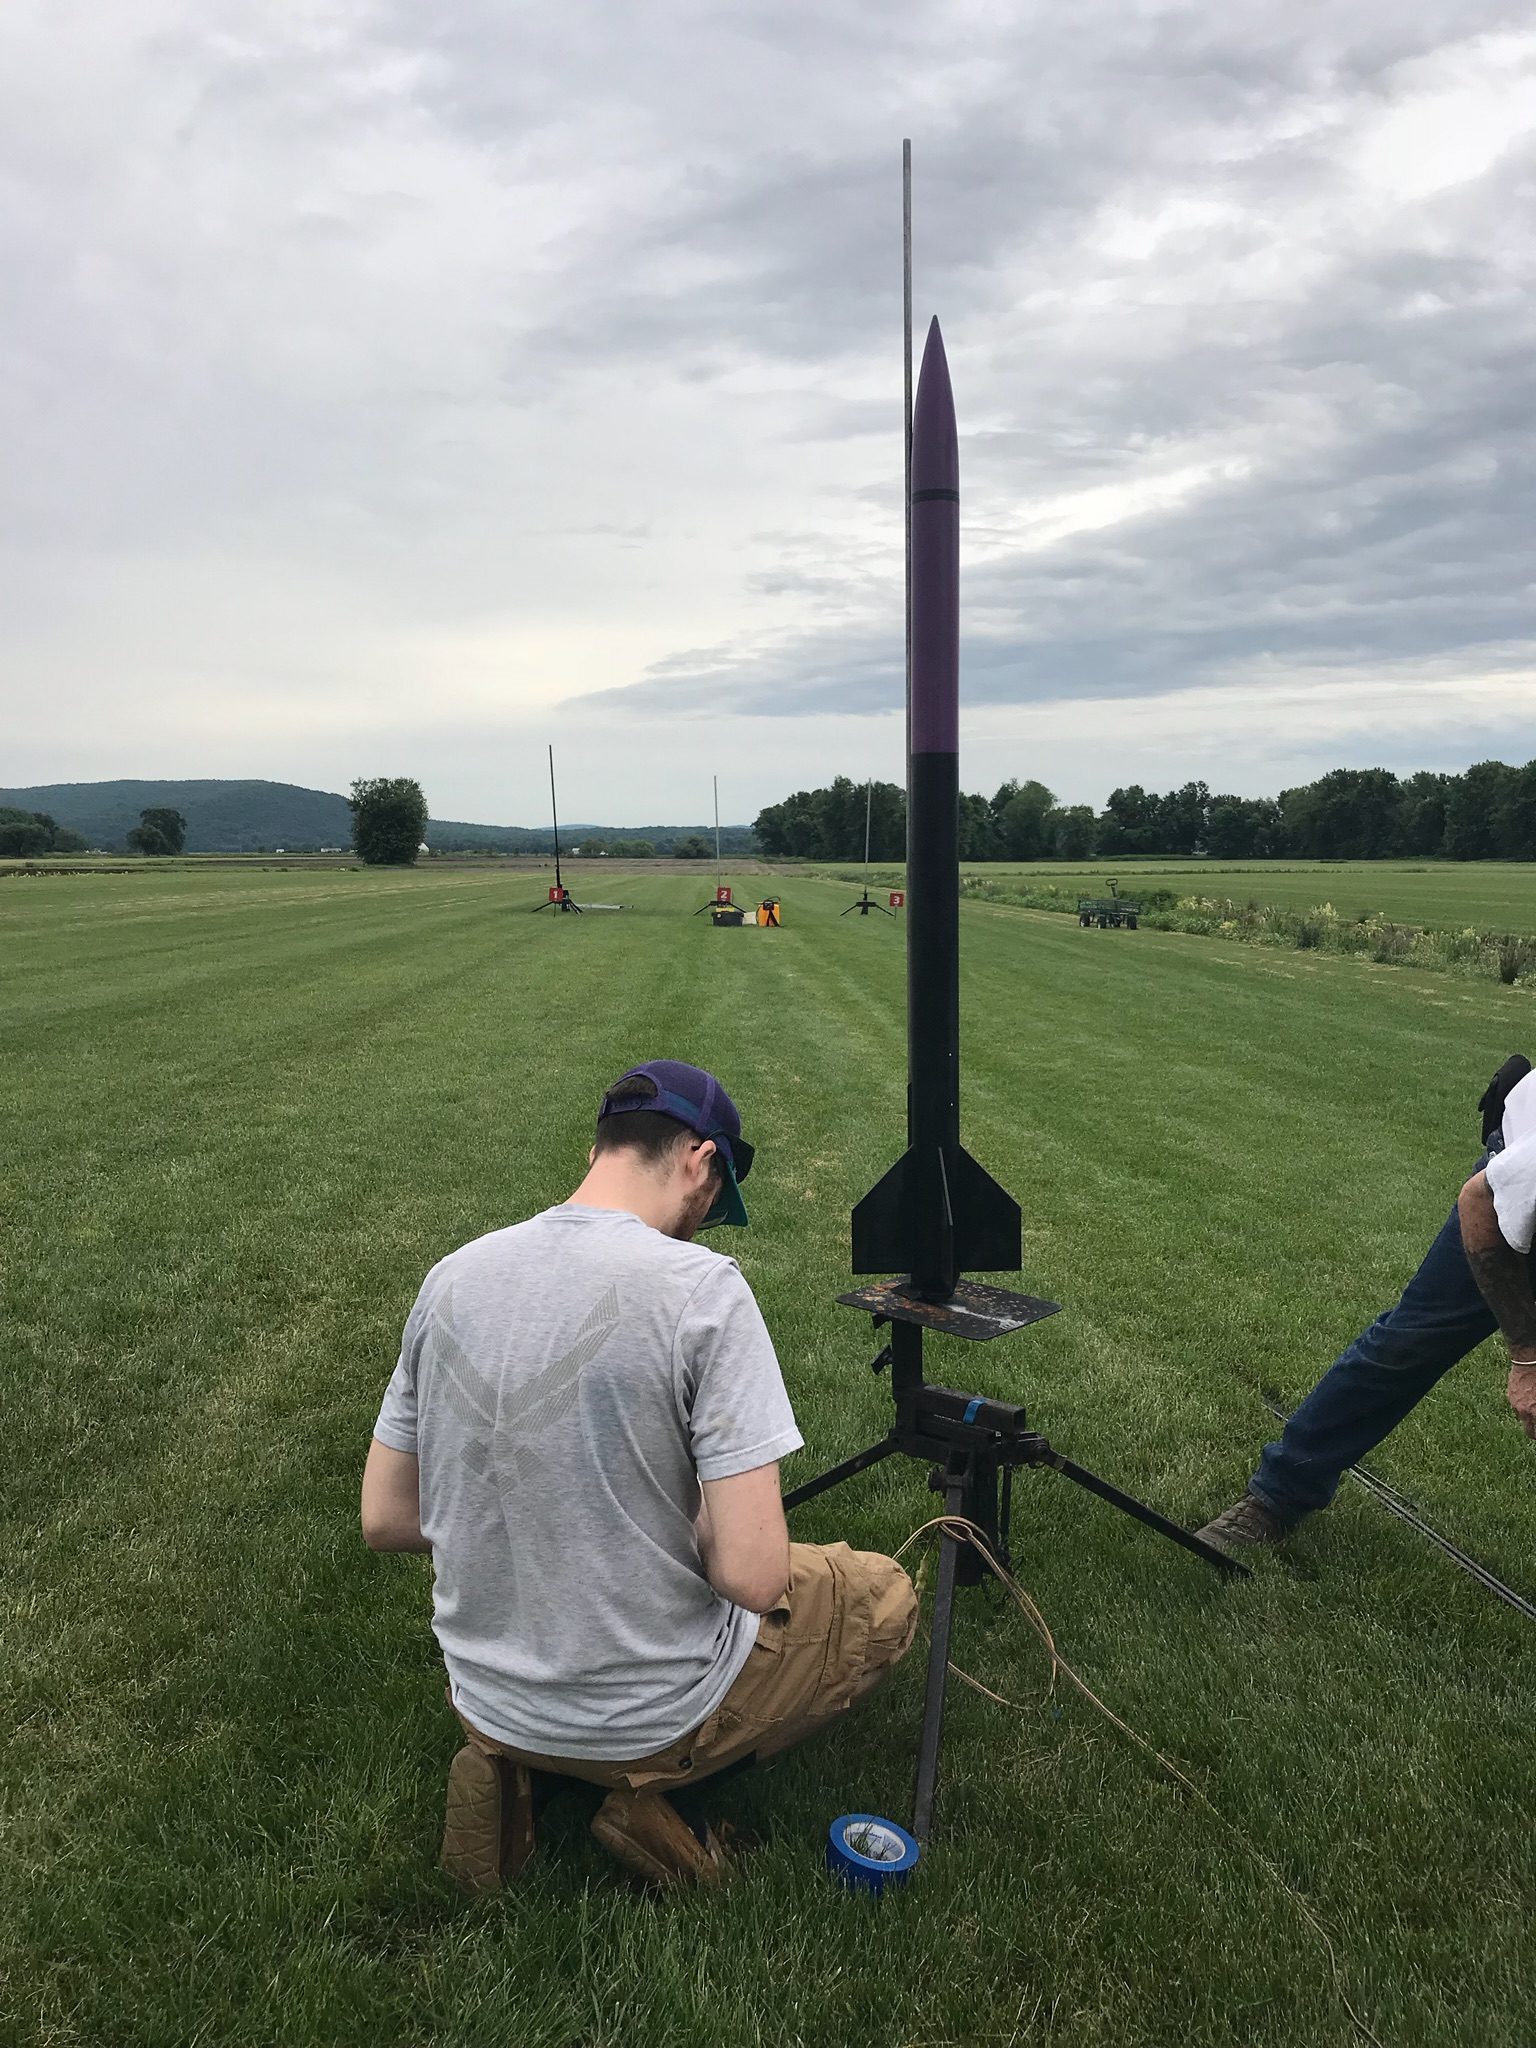
The flight itself was uneventful. Launch was straight with no wobble, chute deployed right at apogee (Open Rocket has been very good to me in suggesting delay times) and we recovered it without too much wind drift. The hyperlink below leads to a short video from the launch.
Launch Clip
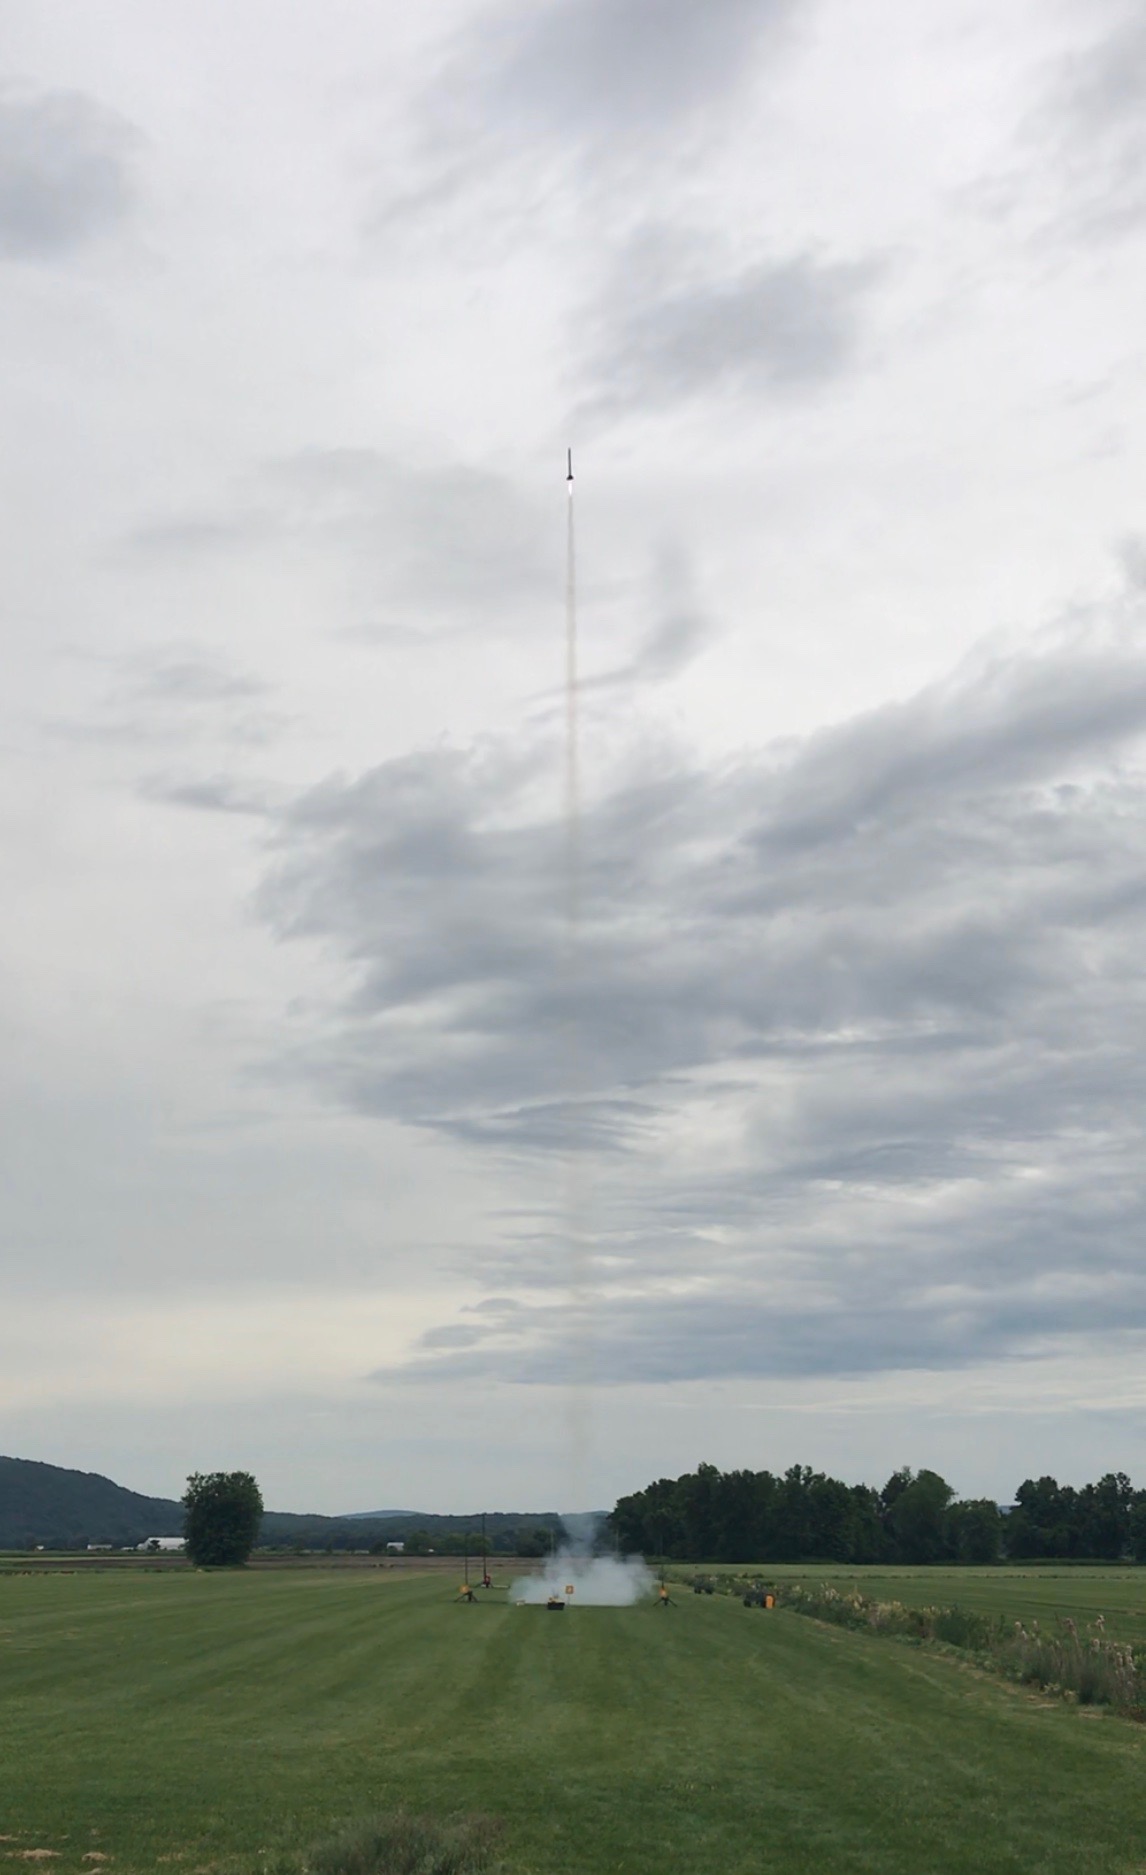
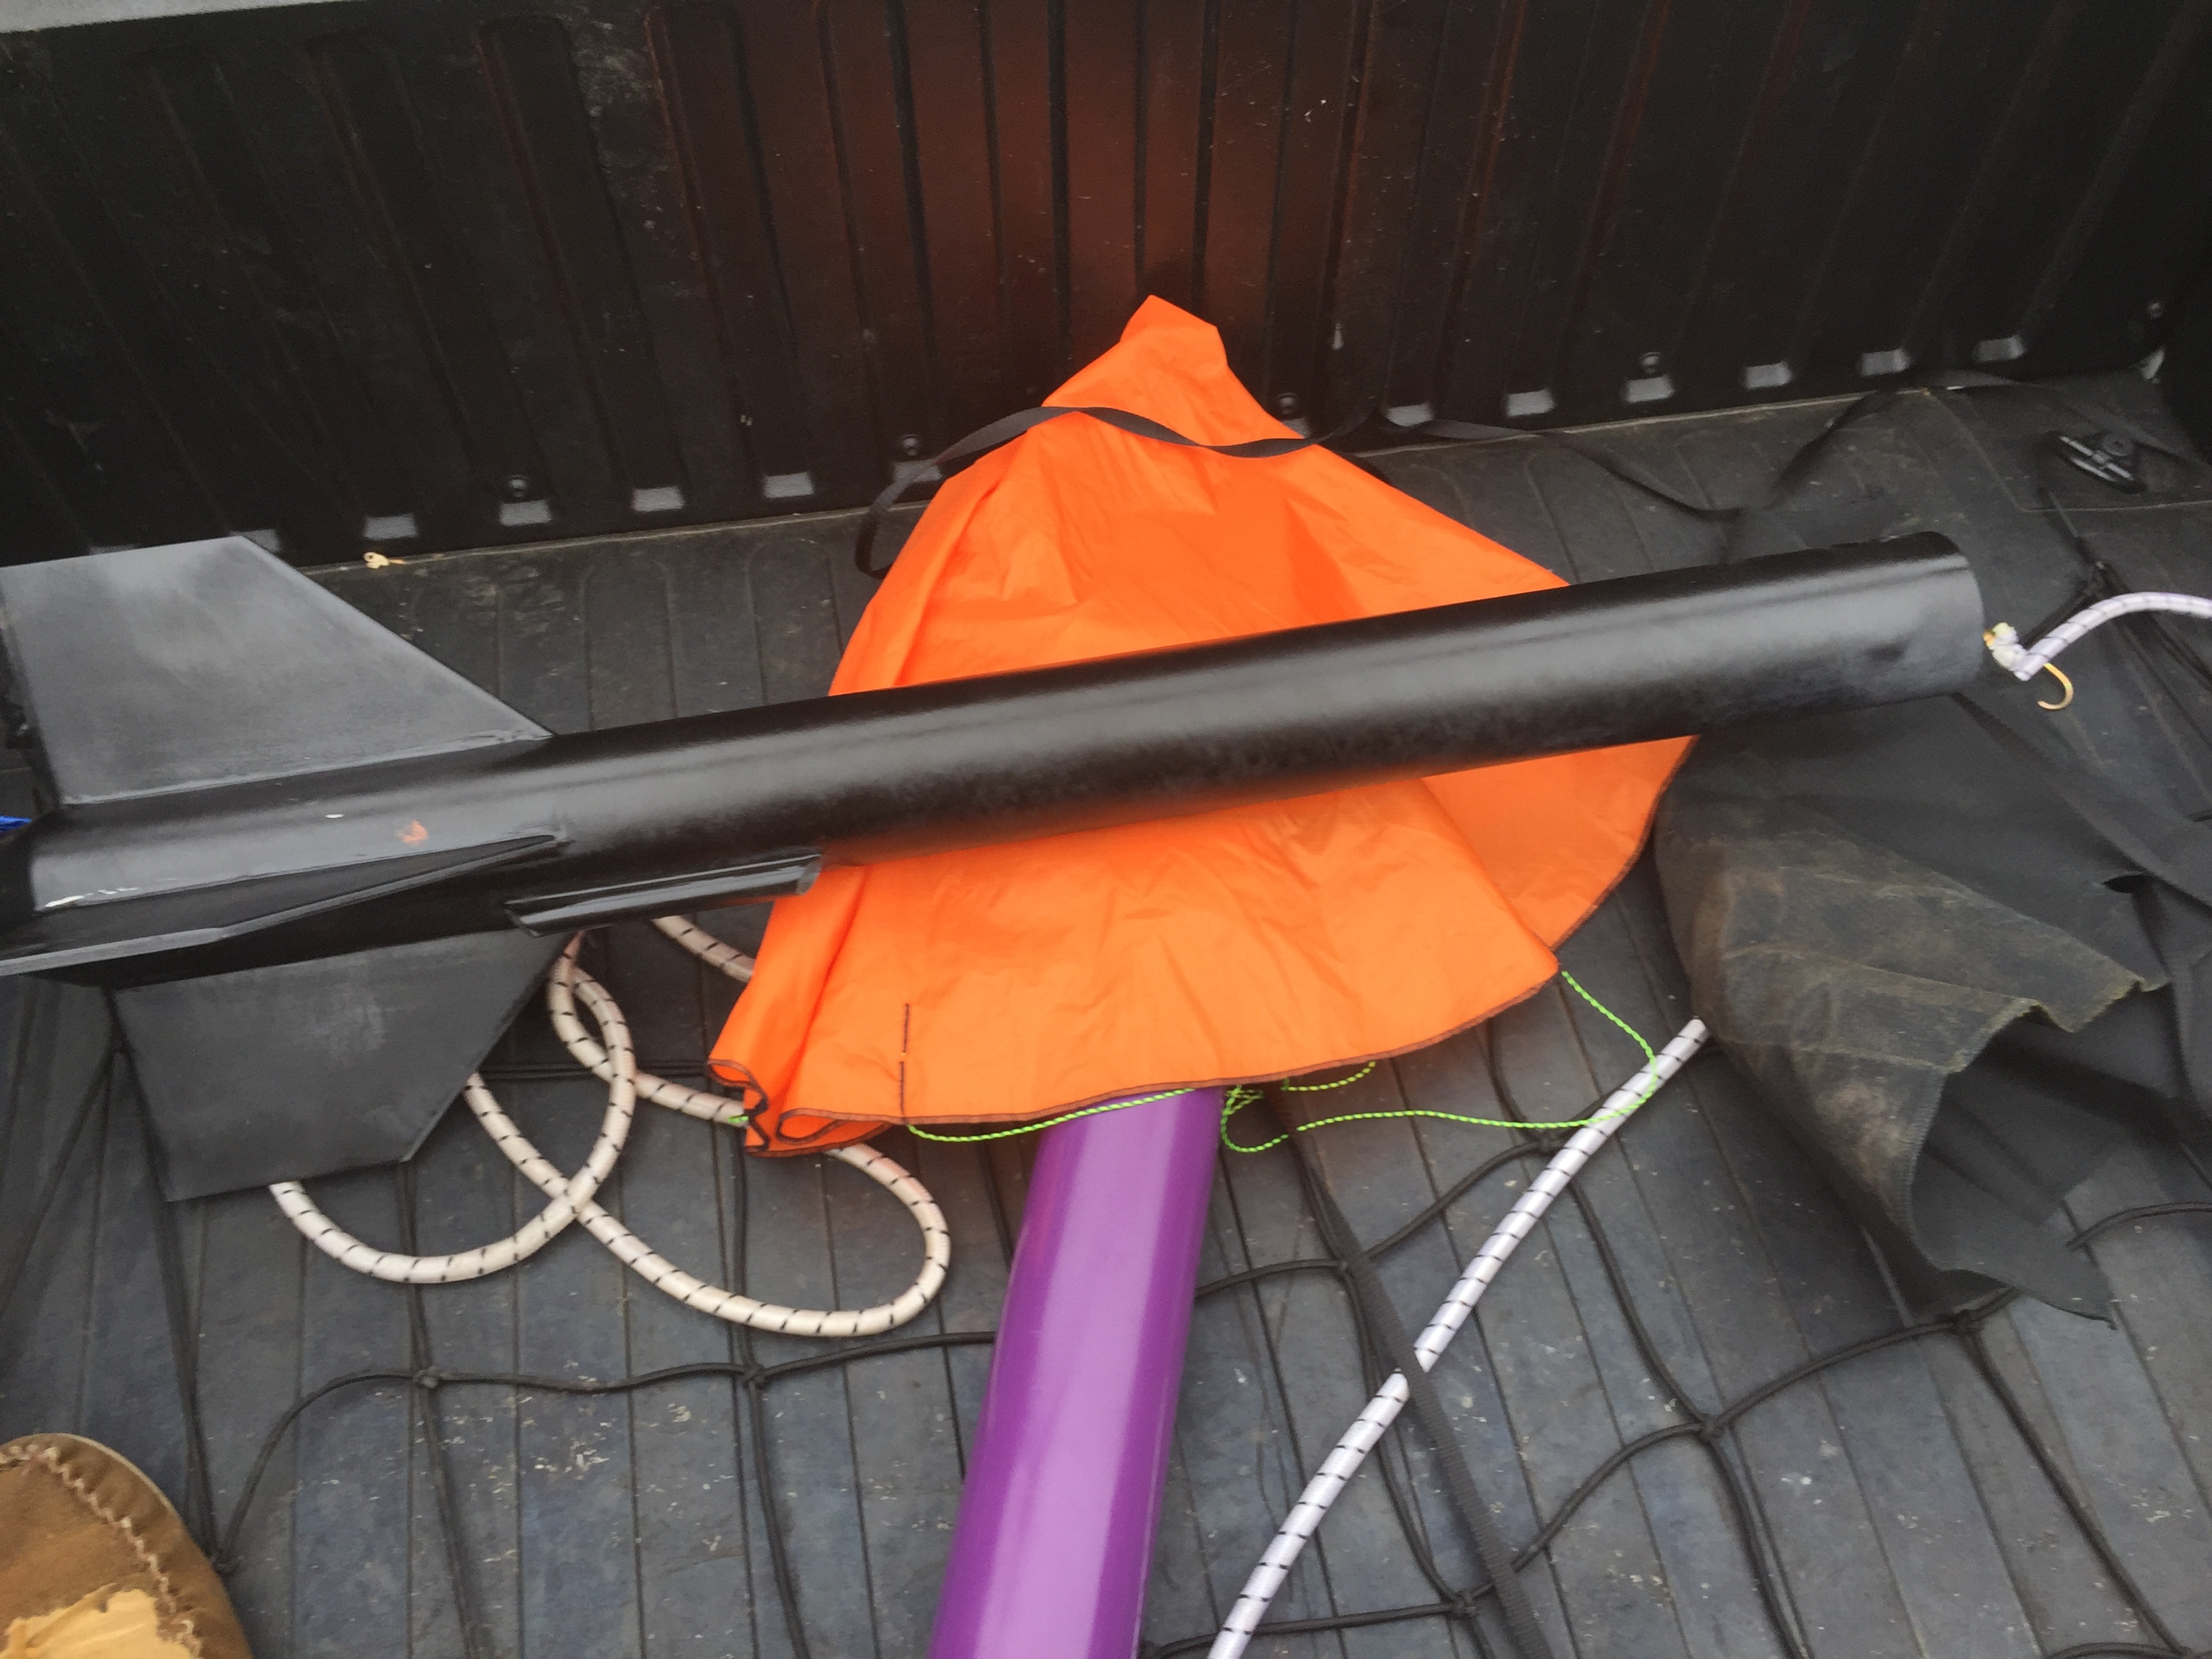
A short drive in the truck and we found it without damage.
Now that I’ve got my L1, I’m looking forward to starting my project for my L2 cert flight.